Quick Links
One of the last optional areas you can encounter inMetaphor: ReFantaziois the Disgraced Ruins, which become accessible once you undertake ‘The Apostles of the Apocalypse’ bounty. As one of the optional tasks available in the run-up to the big finale, it’s the perfect way to kill some time and level some Archetypes.
This area has a lot of great loot to find, and of course, plenty of enemies to contend with. We’ve got a breakdown of everything you need to know about the Disgraced Ruins right here.

How To Navigate The Disgraced Ruins
The Disgraced Ruins have quite a few optional locations to visit. If you’re aiming to go straight for the bounty, it’s not too hard to just keep following the path down on each map and you’ll get there eventually. However, for those wanting to ensure they don’t miss a thing, we’ve got it all detailed right here.
Upon entering, the firstpath on your left leads to a dead end where you can grab a Gold Beetle, then return and take the opposite path. At this point, there is only one way forward as the northern part is blocked, so you’ll need tohead down a level on the eastern sideof the map.

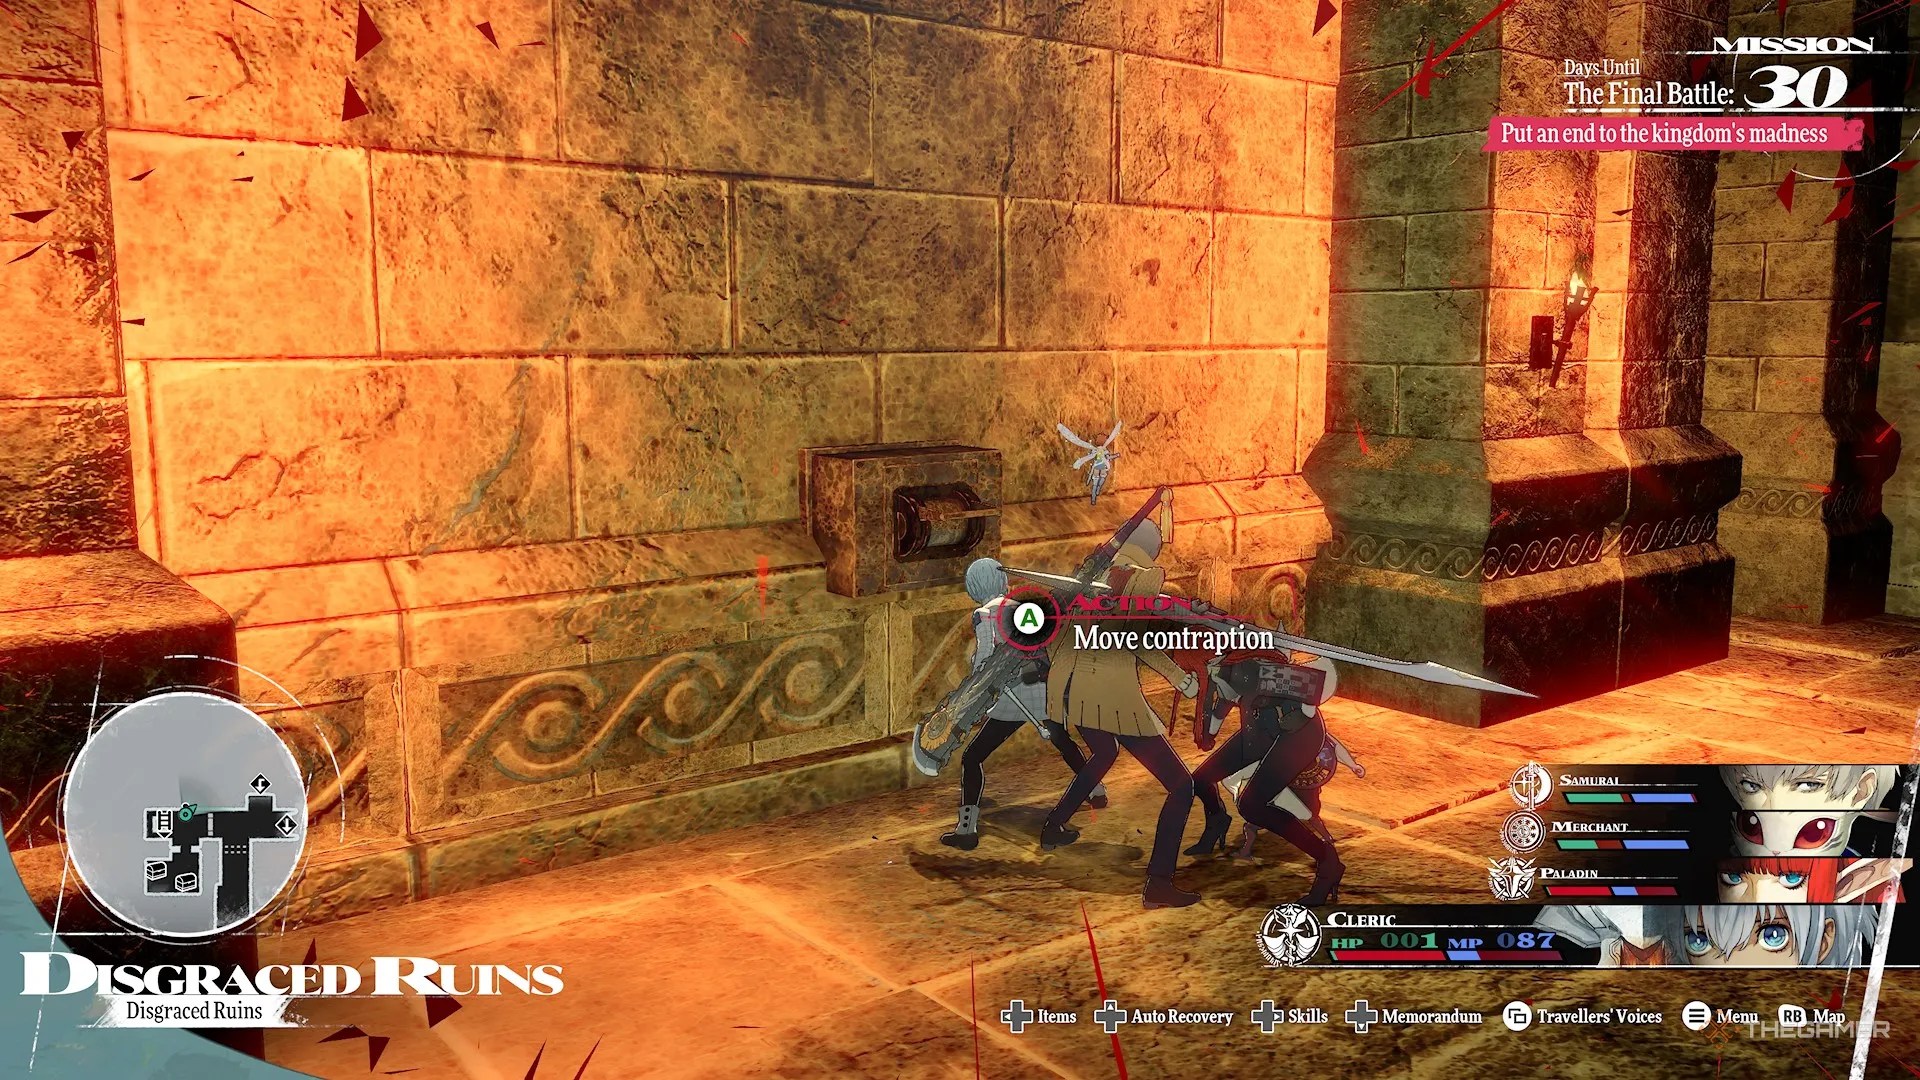
On the second floor,the first left you can take leads you back up to the first floor(where you can interact with the contraption to remove the block to the entrance) Jump down the northern wall toreturn to the second floor and head left/west.
On the third floor, you cantake the first left to go back up and level where you have two ladders:

One of the chests here is a Bloodcoin Imitec but it drops some great loot (Tektite Monocle).
Back on thethird floor, follow the path southto head down to the fourth floor.
On thefourth floor, the pathheading west takes you back up to the third floor and you can grab two chestsand interact with a contraption to remove a block.
One of the treasure chests is a Bloodcoin Imitec but it drops a Talisman of the Night if you want that.
You can thenjump down the wall north of the contraptionto be back on the proper path on the fourth floor.Take the northern path down to the fifth level, which is ashort path westto get to the sixth floor.
On the sixth floor, head southandon your right you will eventually spot a crawl tunnel. Head through,grab the treasure chestand thentake the ladder heading up a level.
You’ll be back on the fifth level where you cangrab a couple of treasure chests from the southernmost chamber.
You can head up yet another ladder to return to the fourth floor, where you can remove the final block via the contraption there, but really it’s not worth it.
Return to the sixth floor and follow the path around to the eastto descend to the seventh floor, which is astraightforward path to the eighth floor. Thefirst left will take you to a treasure chestroom.
The second left will lead you to a ladder heading up a level, go straight across to the next ladder and up again, at which point you return to the sixth level and can use the final contraption to remove a block, if you wish to. It’s kind of pointless, so I wouldn’t bother.
On the eighth floor, you can justhead to the northernmost room to tackle the bounty boss.
Disgraced Ruins Notable Locations
You can see a full breakdown of each floor and where the items listed below are on the mapsin the section above.
Dead end on the west side of the map.
Tektite Monocle
One of the treasure chests in the northern part is a Bloodcoin Imitec but drops this loot.
Third Floor
Sancturion Gloves
One of the chests on the eastern side of the map.
Talisman of the Night
One of the treasure chests on the eastern side of the map is a Bloodcoin Imitec but drops this loot.
Sixth Floor
Sumptuous Magla Feast
Directly in front of the crawl tunnel you’ll encounter on your right as you progress through this floor.
In front of the northernmost chamber on the eighth floor.
Disgraced Ruins Enemies
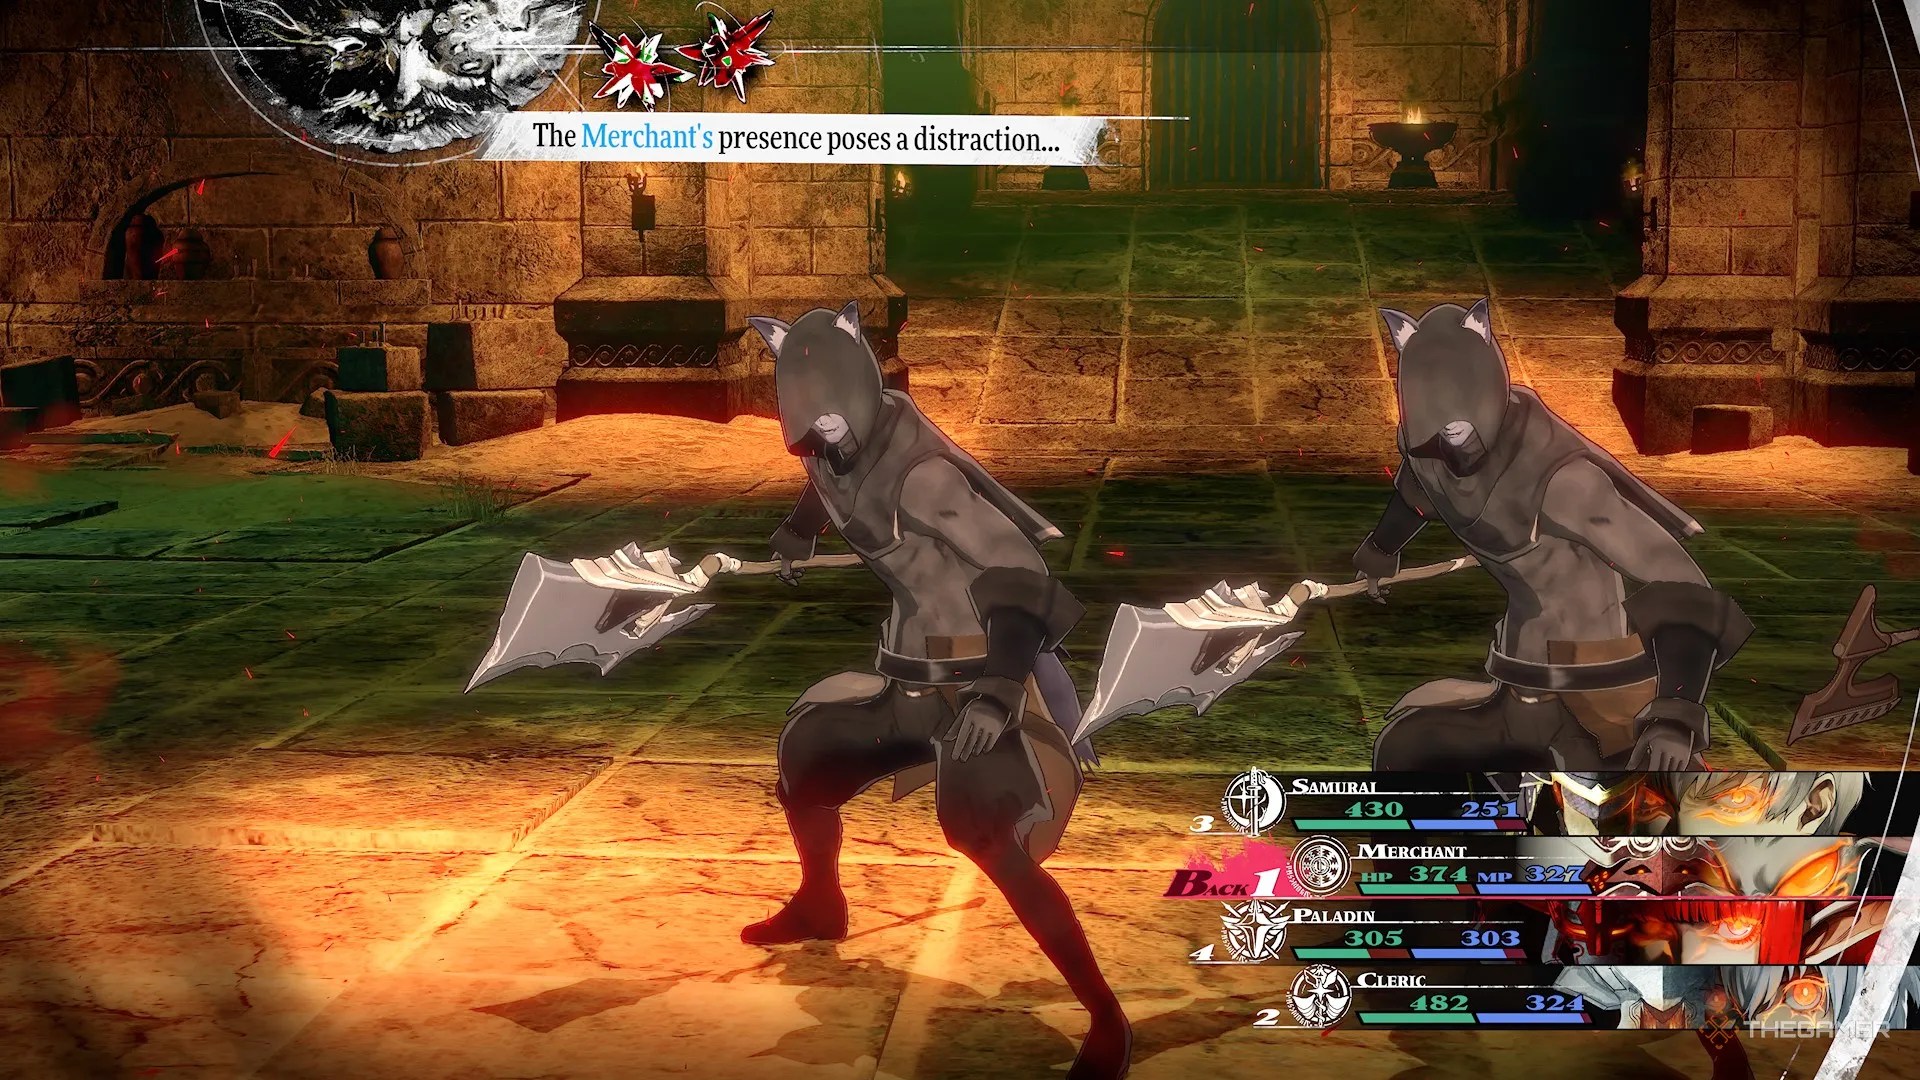
The Bandits here can be distracted by having a Merchant in your party, as well as by abilities that cost Reeve.
Notes
Bandit (Hooded)
Weak to Pierce and Strike. Resistant to Electric, Wind, and Dark. Can be distracted by the presence of a Merchant and skills that cost reeve.
Bandit
Weak to Fire and Ice. Resistant to Slash, Pierce, Strike, and Dark. Can be distracted by the presence of a Merchant and skills that cost reeve.
Sword General Malmorta
Weak to Strike and Light. Resistant to Slash, Pierce, and Dark. Blocks Electric.
Weak to Light and resistant to Dark.
Bloodcoin Imitec
Weak to Light and resistant to Dark. Can be distracted by skills that cost reeve.
Bandit Chief Cistu (Bounty Only)
Weak to Light and resistant to Dark. Can be distracted by the presence of a Merchant and skills that cost reeve.
Homo Sondro (Bounty Only)
Weak to Strike. Repels Slash, Pierce, and Electric, and is resistant to Light.