Quick Links
In your task of tracking down the infamous kidnapper Heismay inMetaphor: ReFantazio, andafter having to suffer through the bowels of a giant sandworm, you’ll find yourself in the Giant Sandworm’s Nest. This isn’t the largest area by any means, but there are some enemies and items to be found.
Most importantly, you’ll have a couple of battles against Heismay, who has a rather annoying ability he can use. Fear not though, we figured out how to best this little dude, and we’ve got it all covered right here.
Quest Prep
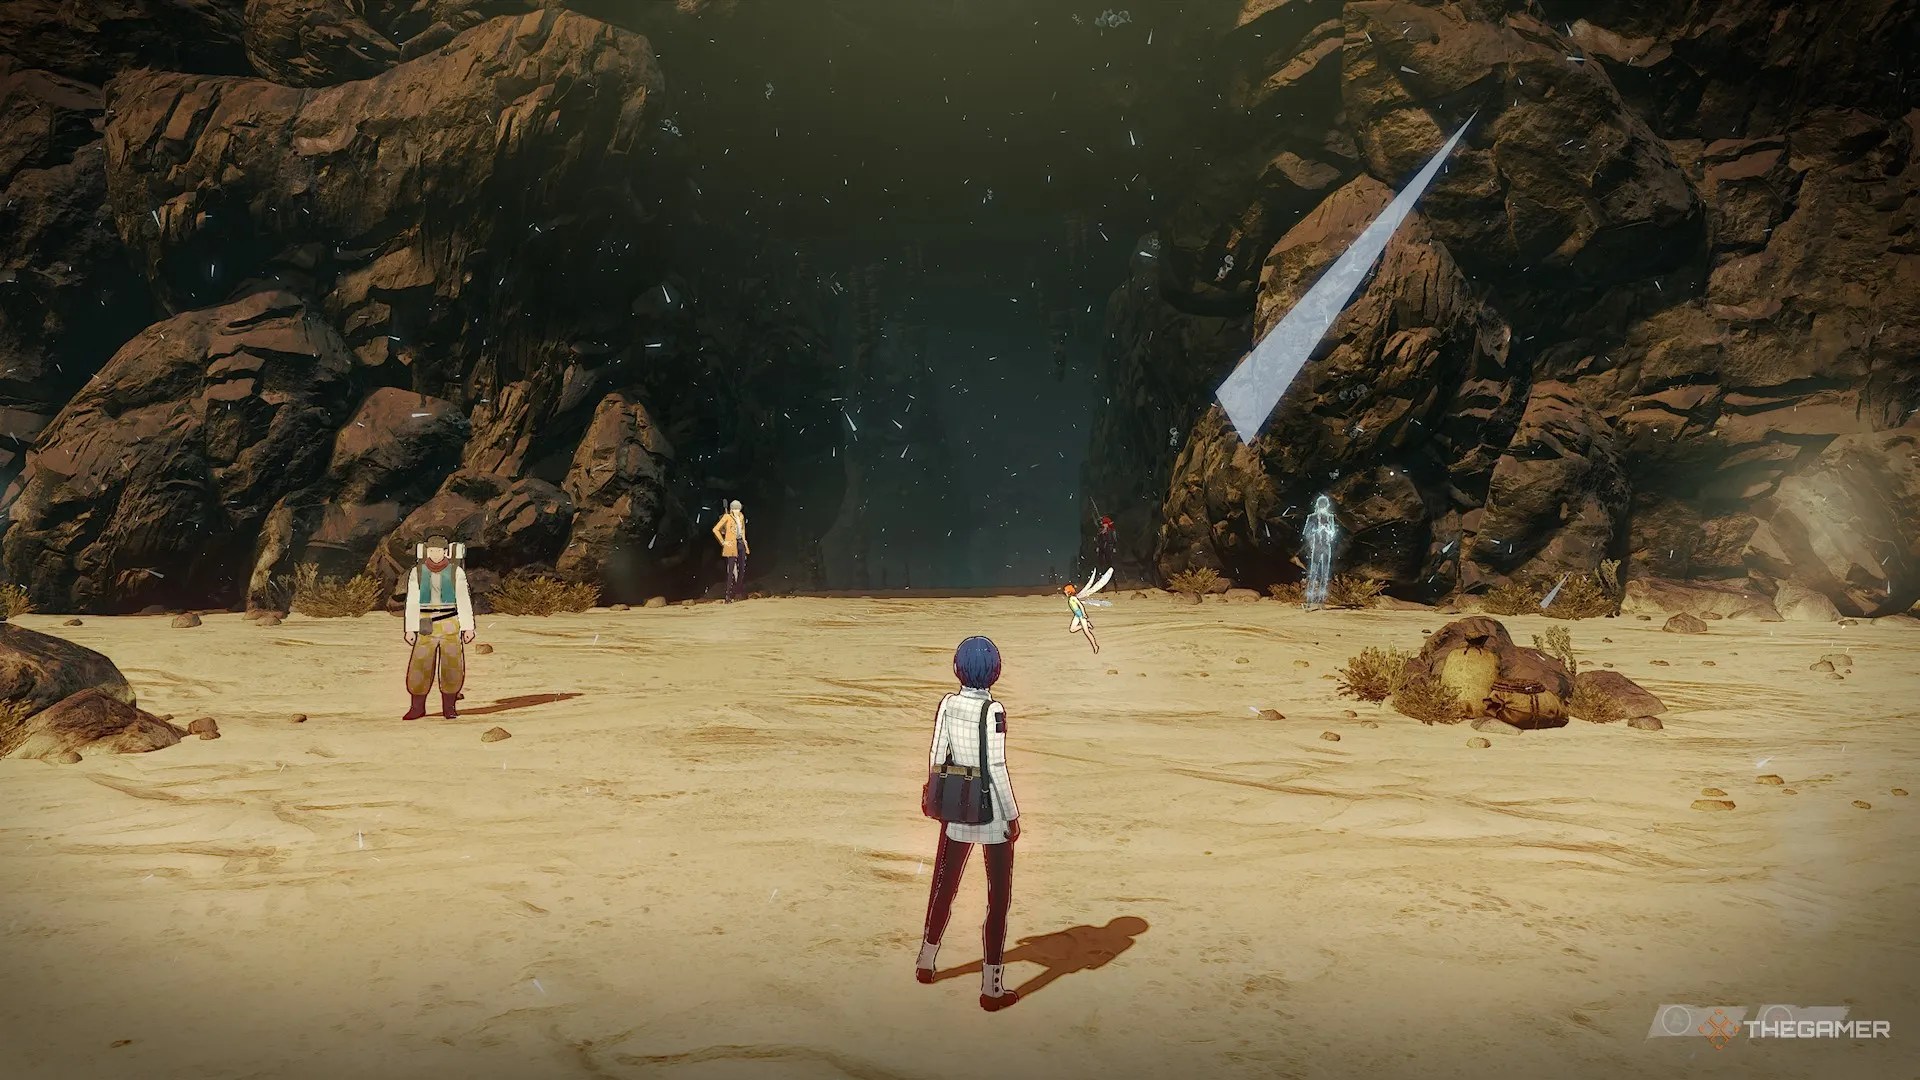
After you have evacuated from the belly of the Giant Sandworm in a filthy fashion, you’ll find yourself outside the Giant Sandworm’s Nest. Fortunately,your HP and MP have all been fully restored.
There’s a Wasteland Peddler here where you can restock on some curative items as needed, and you can also go to Akademia too, and fine-tune your party for the area ahead.

Recommended Party Setup
There’sa lot of leeway for party setups hereas there aren’t any serious weaknesses or affinities you need to worry about. Going in with your favourite/best team is completely viable, but we’ve broken down the setup we used and why.
Healer/Seeker/Any
Back
The protagonist is a good option to heal your party, either with Healer or Seeker, butreally any role works as long as they have some healing abilities inherited.
If you can give them a Wind or Dark spell too, that’ll be an added bonus for against the Papyros.
Warrior/Swordsman/Any
Front
Warrior or Swordsman are probably Strohl’s strongest, but really any Archetype is viable.
Knight/Mystic Knight/Any
Knight or Mystic Knight for Hulkenberg are likely her strongest Archetypes, butPierce will help against the Papyros. Ultimately, any role can be used though.
Location
Hero’s Incense
First item on your right as you progress through the nest.
Rotting Bones
Second item on your right as you progress through the nest. (Break the bones to get to it.)
First item on your left as you progress through the nest. (Break the bones to get to it.)
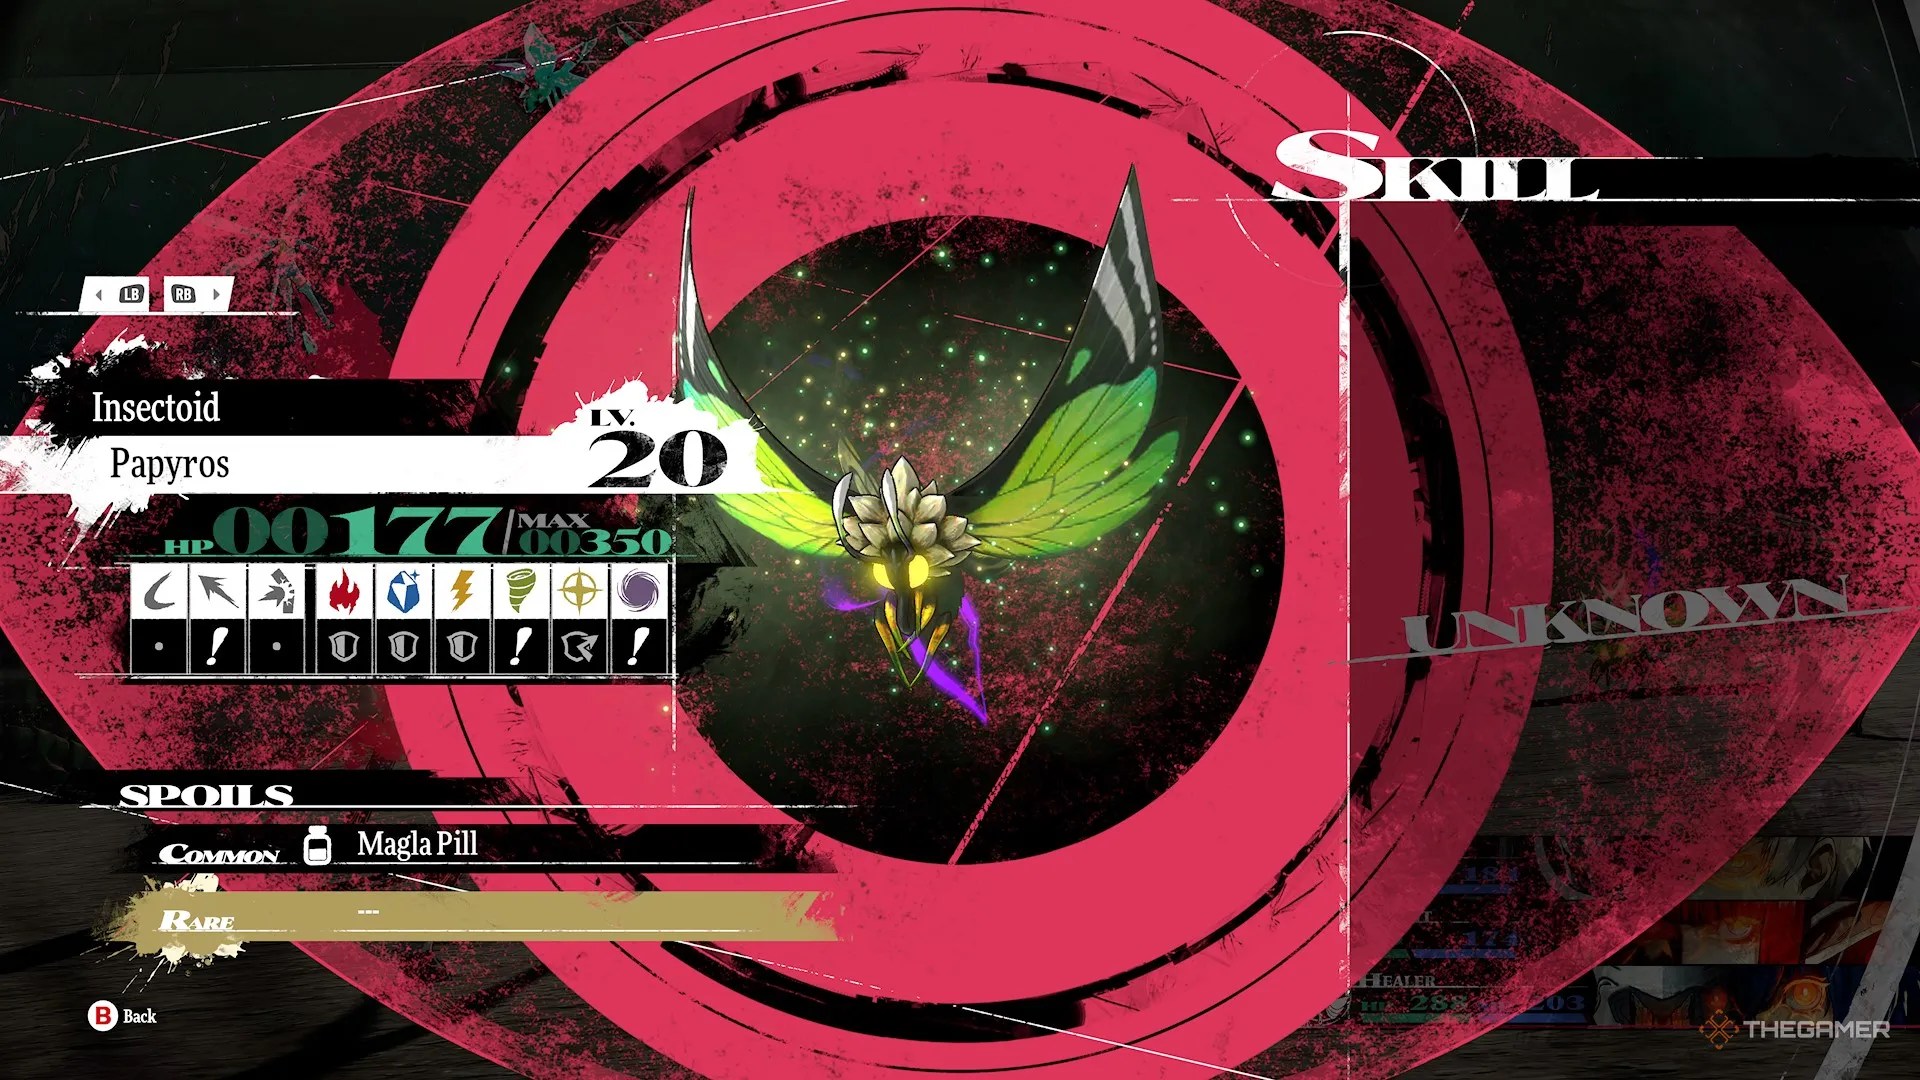
Second item on your left as you progress through the nest.
Blessed Water
Third item found on the left, down a separate dead end path.
Magla Pill
The final item found to your right just before you have to jump down on the northern part of the map.
Giant Sandworm’s Nest Enemies
As you enter when the weather is bad, enemies are stronger and hitting their weaknesses will not grant you an extra Turn Icon.
Notes
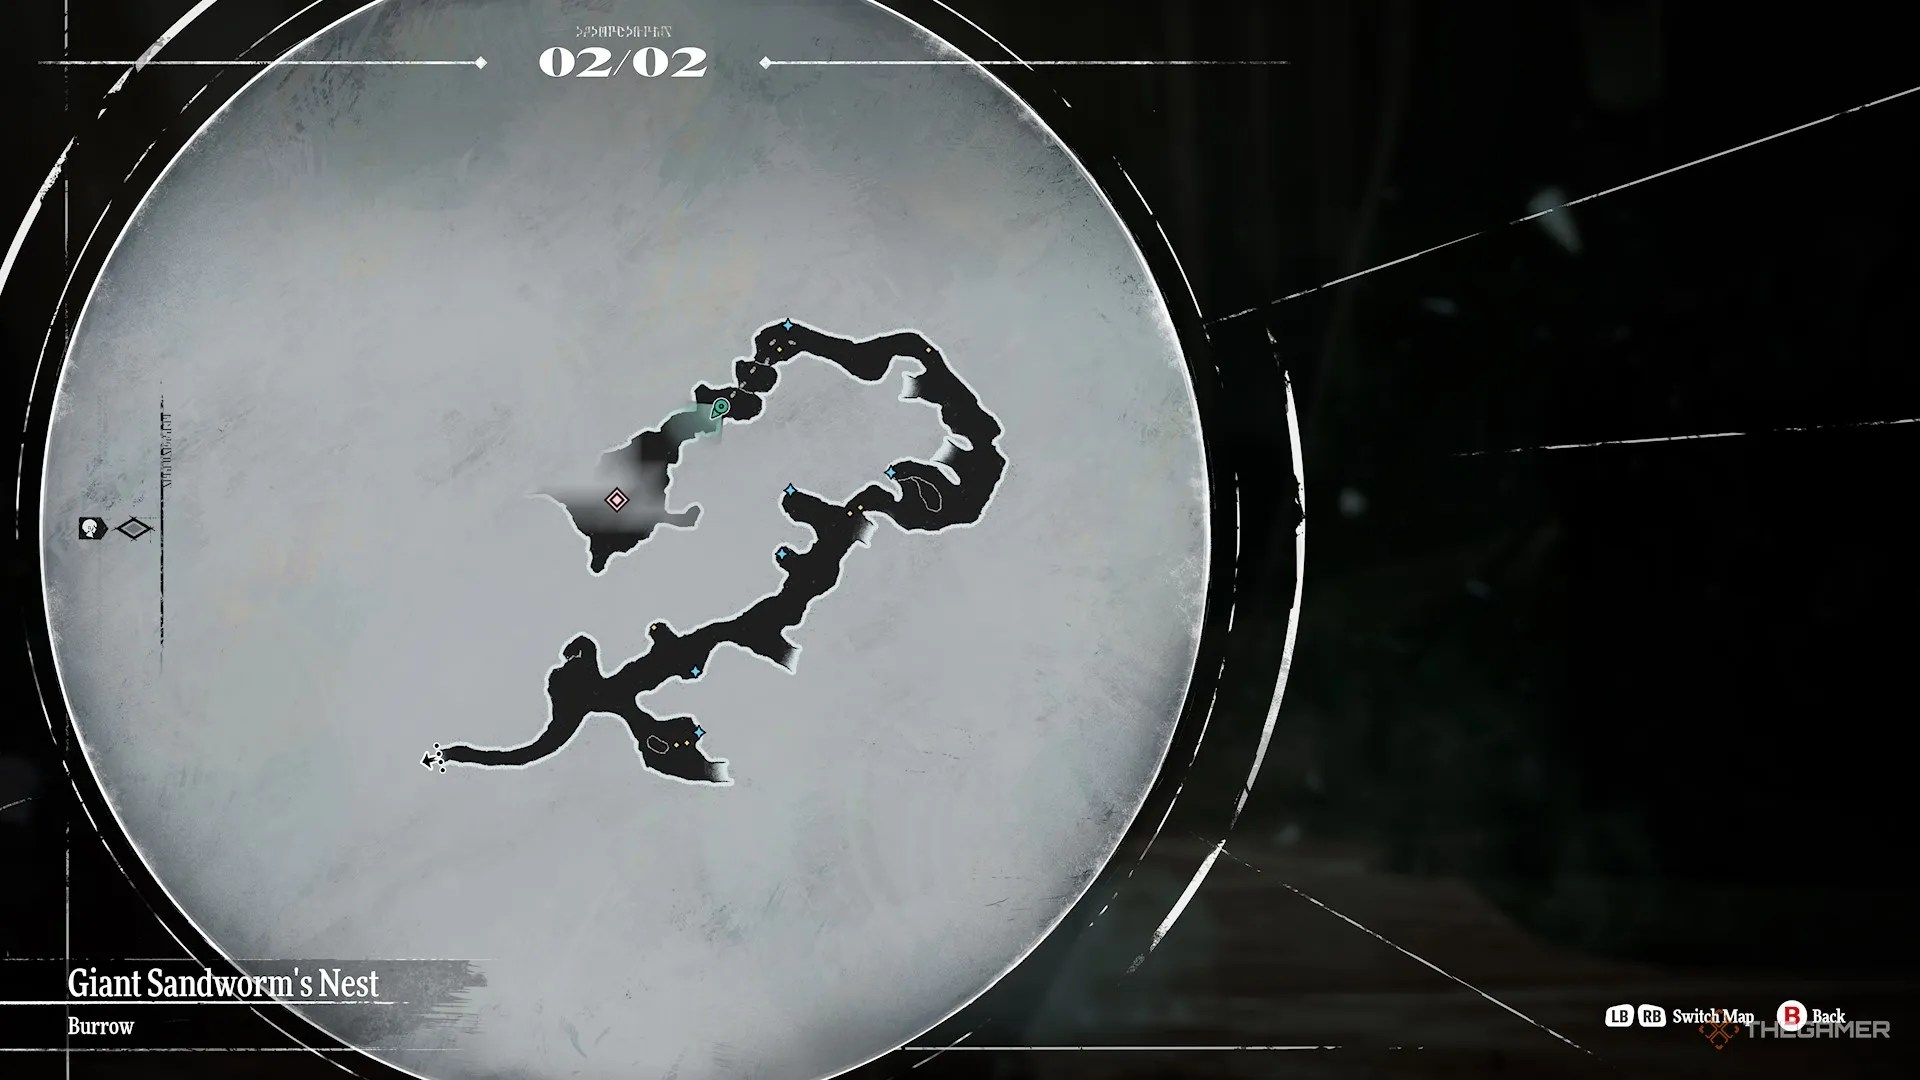
Papyros
Weak to Pierce, Wind, and Dark. Resists Fire, Ice, and Electric, and Reflects Light.
Red Elmenta
Weak to Ice and prone to fleeing on its first turn icon. (Only found in the dead end with the Blessed Water.)
Walkthrough
The nest is very linear, so you can’t really go wrong. When you reach your destination on the northern side of the map, there will be a cutscene followed by a fight against Heismay (covered below). After Heismay withdraws, you’ll be in his tent.
Explore the tent,interacting with the four items marked on your map (they are glowing orbs and hard to miss), before entering another cutscene. The cloth is there to dampen noise, though your team will figure that out even if you don’t respond correctly.
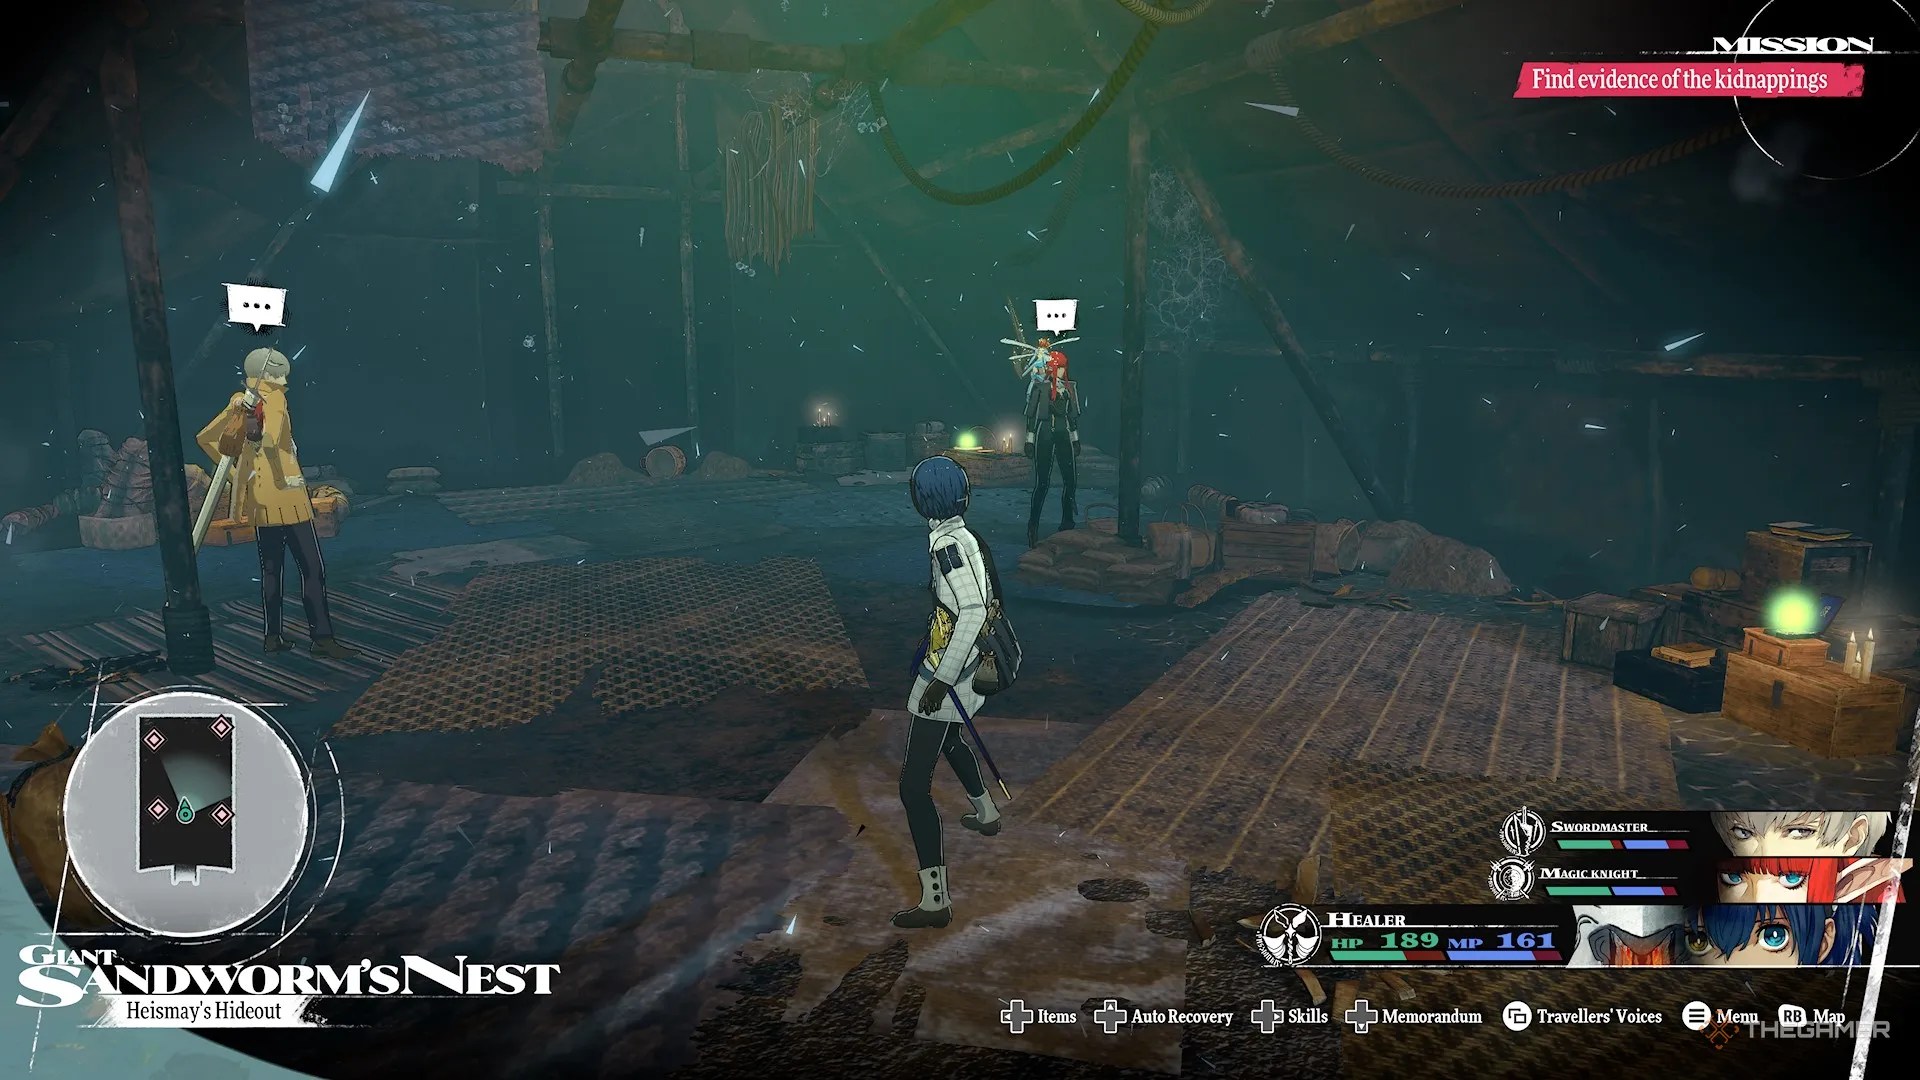
After another cutscene, you’ll be thrown into yet another battle with Heismay. Thissecond battle plays out much the same as the first.
—
Sharly reduces party members' Hit and Evasion rates.
Heismay Battle Strategy
Heismay will immediately use Clone Art tocreate three other clones, followed by an Attack.
Striking a clone instead of Heismay will result in your party losing the rest of its Turn Iconsand Heismay immediately retaliating, including clone attacks, so that’s four consecutive attacks. Attacking clones counts as a miss andcan induce Anxietyin your team.
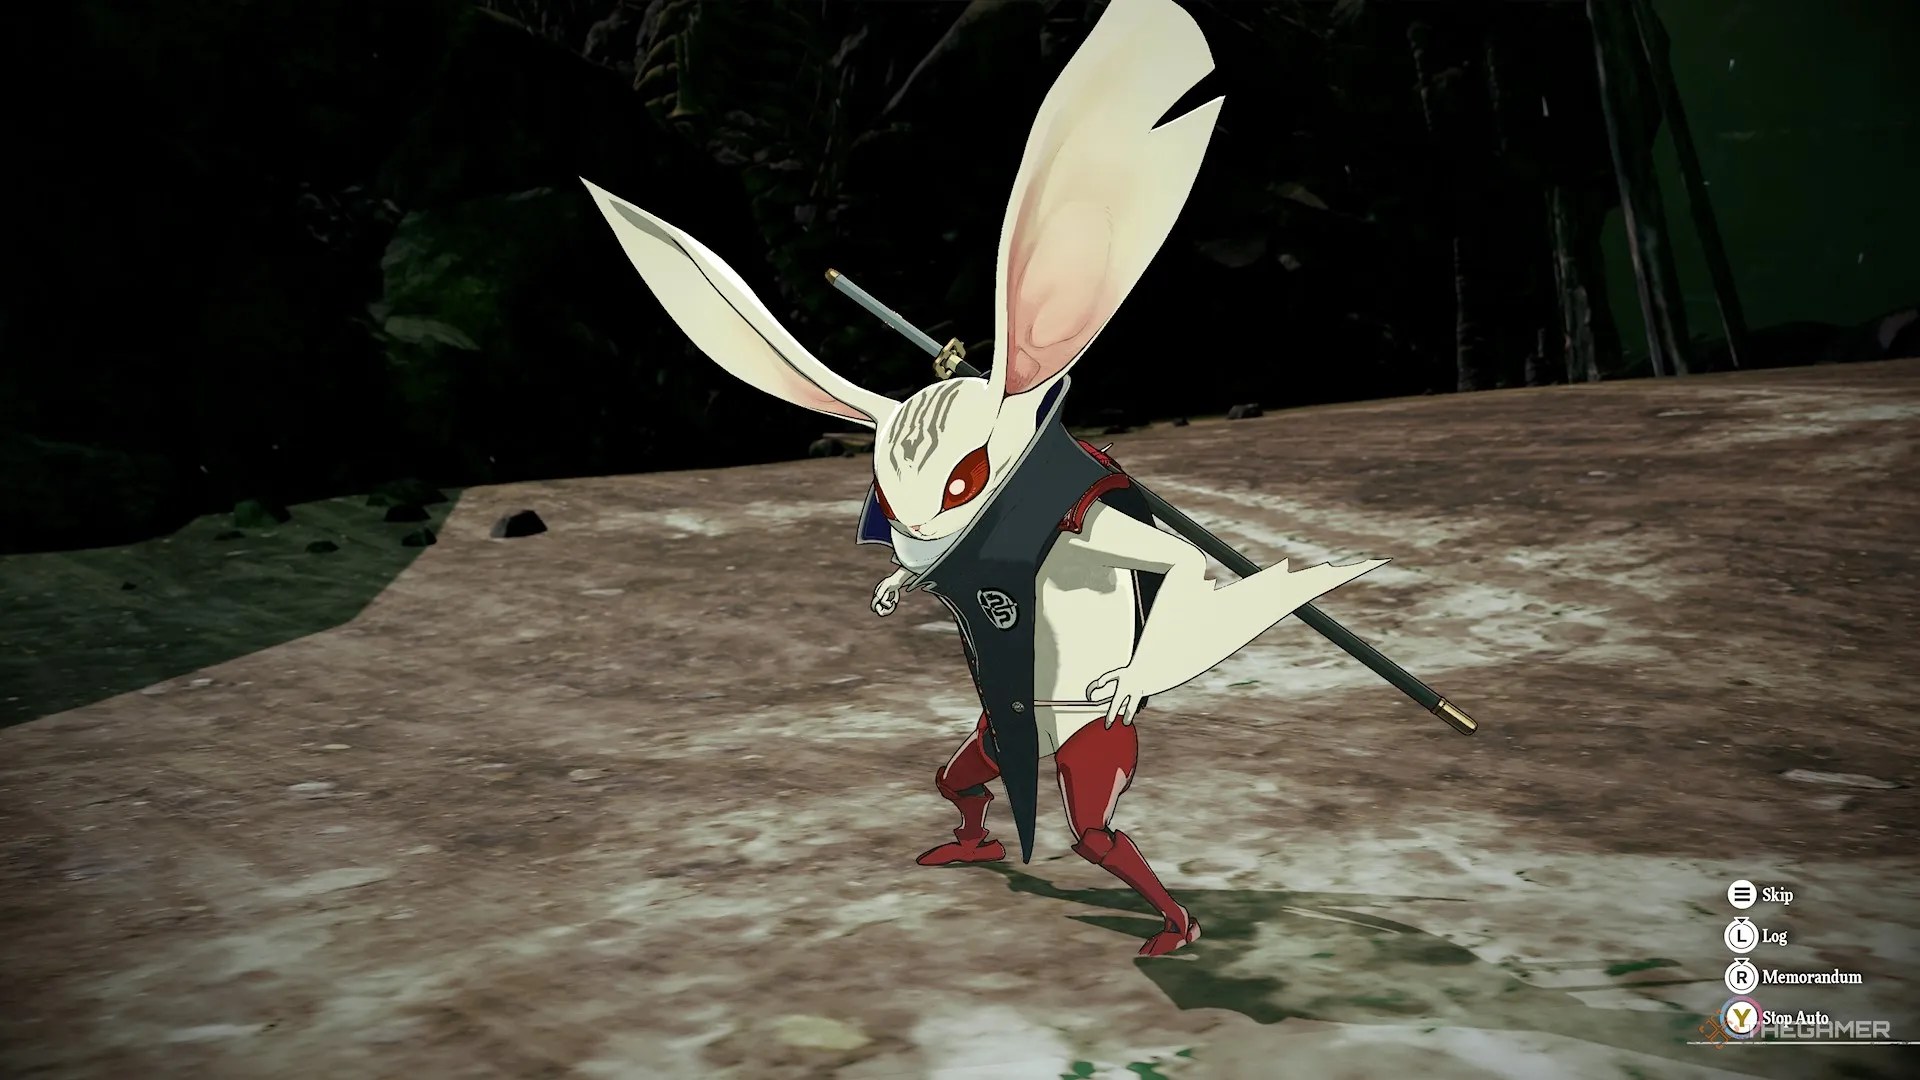
You have toattack the real Heismay to dispel the clones, which he will promptly resummon on his next turn.
you’re able to tell which is the real Heismay as he is the only one with a shadow.

Heismay doesn’t have any weaknesses, so just keep attacking the real Heismay and chip away at his health until he withdraws.
You’ll face Heismay again shortly afterwards and the strategy is the same.